Showing posts with label recipe. Show all posts

Tuesday, December 3, 2013

It's really easy being green... when you're my Collard Greens!

I've been feeling nostalgic for Southern holiday food the last few years, and have been recreating the recipes I loved when I lived in Georgia.

I didn't appreciate collard greens then, but have grown to love Love LOVE them now!  I had to search for recipes to base my own on, since most use a ham bone, ham hock (!) or fat back (!!), none of which are easily found by me way up here in the Great White North.
So I use bacon. 

Yes, heresy.
I know. Whatevs.
It works and it tastes phenomenal, and it's smoky and salty and meaty and easy, and I don't have a bone to deal with.


Here's my recipe-- remember, do NOT throw out the liquid. That is called "pot liquor" and is prized for taste and nutrients (but not looks) in the South (I drink it like a sort of salty soup, and never share!)

Ingredients:
2 bunches of collards (or 1 collard and 1 chard if you want)
1 red bell pepper
2-4 slices of bacon (let's say we make this with 2 slices of thick cut bacon)
1 small onion (of any kind).
1.5c chicken stock, and 1.5 c water
red pepper flakes, salt and pepper to taste
big pot to cook in


Directions:

Cut up the bacon into small pieces, and start that frying in the pot. I put in a little water to help it render w/out burning.
Chop the onion nto medium sized pieces  and put that in next, then the red bell pepper. Just get them sweating a bit, get the rawness out.


While that is going on, prepare the greens.
Clean the greens, and cut the stems off. You can cut the really thick stem out of the leaves, but you don't have to go nuts. I've left some of the in-leaf-stem on, and it got plenty soft enough to eat.
I like to cut the leaves in 1/2 length wise, then in 3 or 4 sections along the length (I stack them and cut a bunch at once). Again, a bit of stem doesn't seem to hurt anything.

Plop that in, and pour in the chicken stock and water. You can add more water if you think you need it, but the greens don't need to be covered in water (they will melt down).

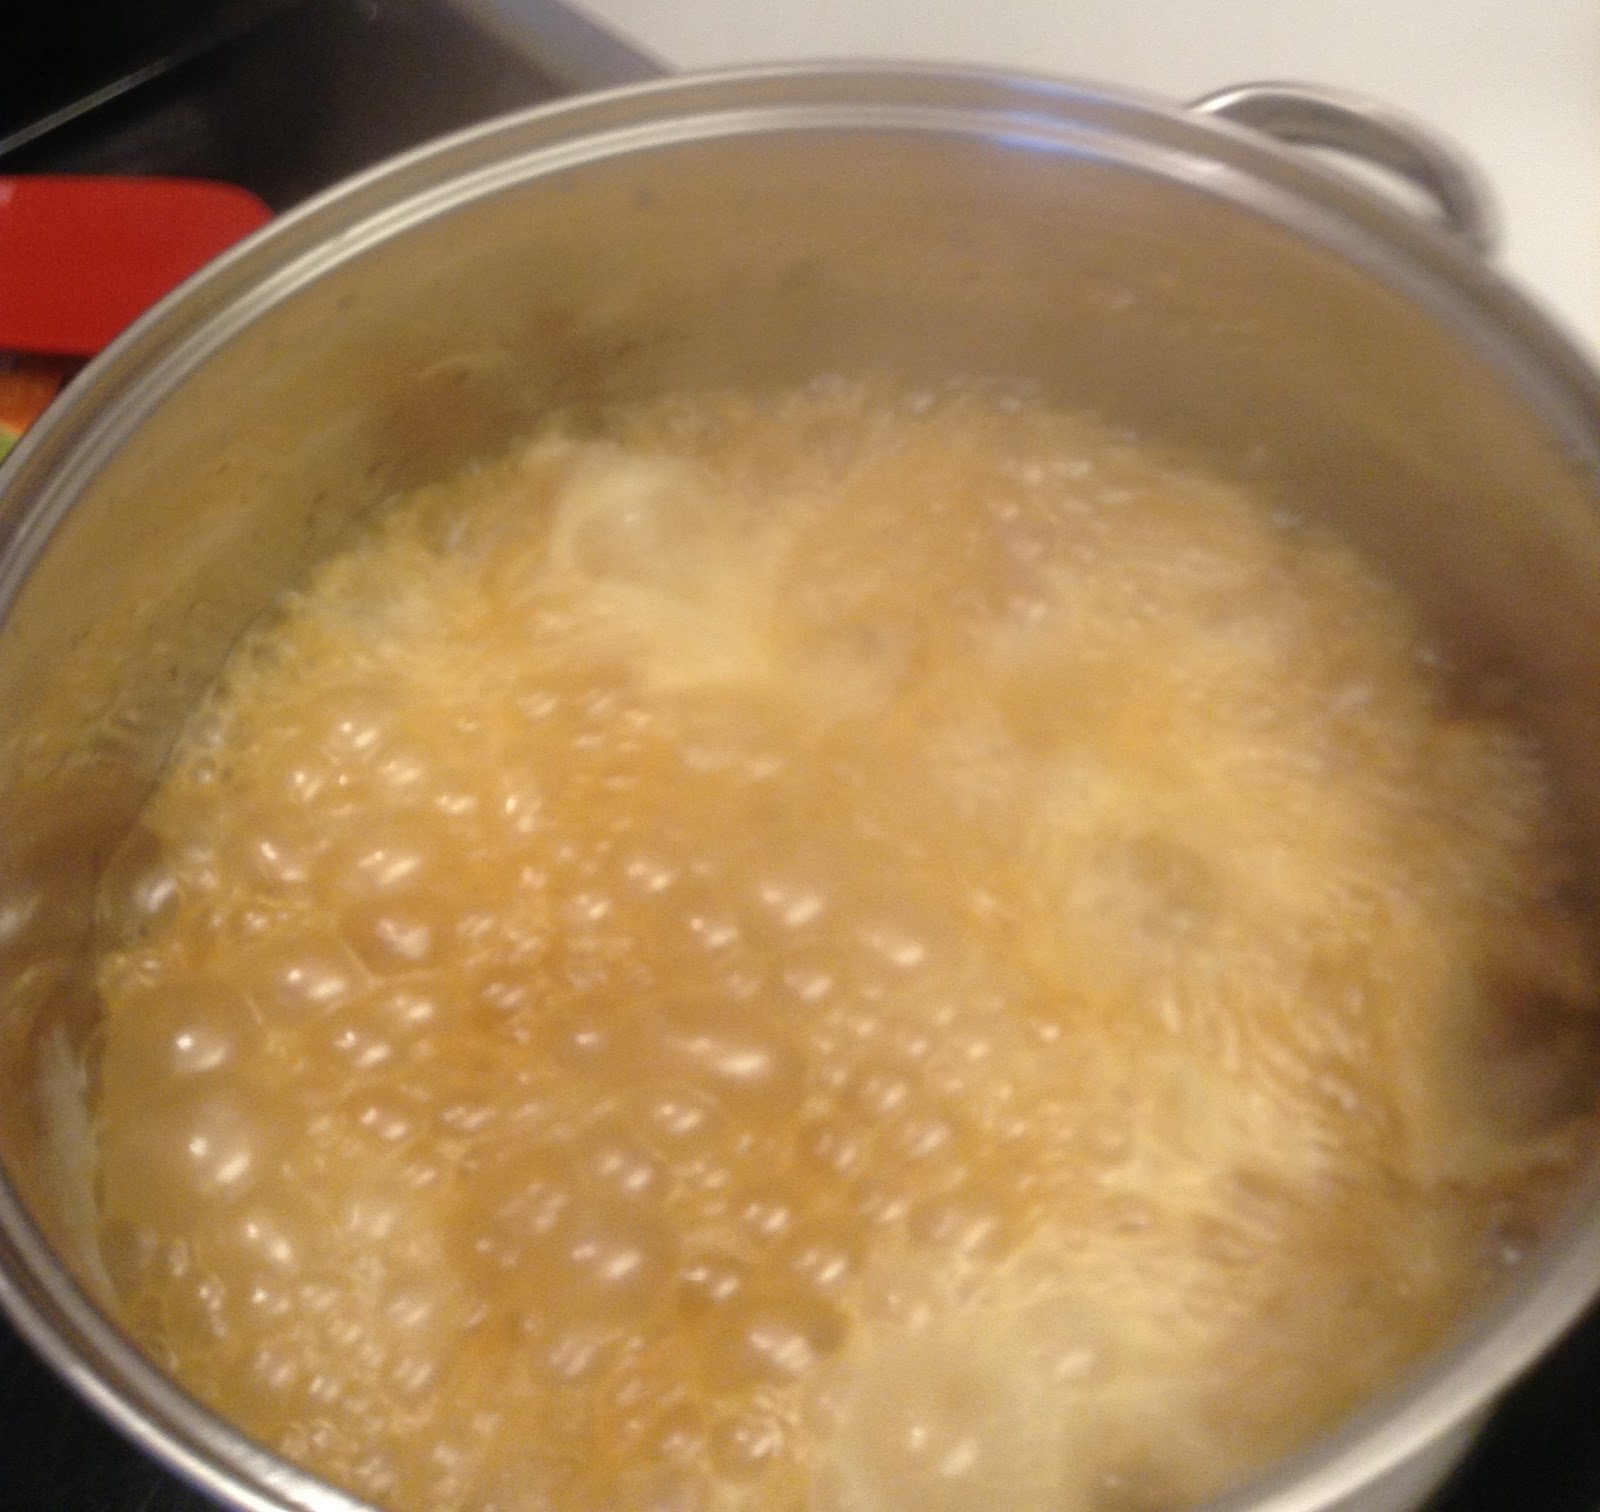
Cover. Bring to boil, then reduce to way low simmer.

Simmer... forever.
At least till greens are soft to your liking (let's say an hour), or let them sit there all day while you do other stuff.
Only salt at the end, but you can add
chili flakes if you like, up front. Go easy, the heat builds.

The leaves get darker as it cooks longer... this batch still needs to go for a bit.
I could seriously eat at least 1/2 a batch by myself, at least, but, here are the nutrition stats for you to decide for yourself:

Making 4 servings:
73 calories (see? told you, you could eat the whole thing!)
4g total fat
5mg cholesterol
403 mg sodium (not counting if you add more salt)
236mg potassium
5g carbohydrates
1g fiber
4g "net carbohydrates" if you count those
5g protein

other nutrition info:
108% of daily vitamin C
44% of daily vitamin A
10% of daily Niacin

Thursday, November 28, 2013

From The Oven: The Great Sweet Potato Calamity (and my Sweet Potato Soufflé (Super Southern Style))

I feel delinquent... I meant to get this posted around Canadian Thanksgiving for my friend K, who asked for it after I posted about it on Facebook, and then it just got away from me.
Well, now it's American Thanksgiving, and I've got my writing-groove going, so here we go.

First, a little background about why this Canadian girl loves a Southern dish like Sweet Potato Soufflé, and the great Calamity story.
I lived in Atlanta for four very formative years (grades 7-10) and while some of that time was not ideal (namely, 7th grade, most of which I have literally blocked out and do not remember at all), some of it was supremely excellent.  I have some wonderful friends to this day from high school, and I also experienced some idyllic teenage American life.  Friday night football games, sleep overs, hanging around at the mall, charity car washes.  It was awesome.

I also had a step-grandmother, Louise, who was (since I have 0 contact with anyone from my ex-step-father's family... but if you're out there, I'd love to hear from you!) a wonderful Southern cook.  She doted on me, and I loved it.
She would *literally* bake a cake because she knew I was coming over!

One Thanksgiving (could've been a Christmas, but this feels like a Thanksgiving story), she had the sweet potato soufflé, covered in marshmallows of course, baking in the oven.
My step-father, who was a bit accident prone, was the one to take it out.


I don't know what happened next exactly, but all I saw was a slo-mo of the casserole dish falling to the floor.... the orange and white contents flowing UP in a GIANT wave.... and then splashing down against the floor next to the wood paneled wall, causing a ricochet effect and further traveling of the wave... ooooohhhhhh....

It was GLORIOUS in its disastrousness. It was historic. The Calamity lives on in the annual telling of the story (between me and my mother), who witnessed it as well.
There is laughter until there are tears, usually. 

The only orange wave I could find. Ah...the days before cell phone cams! It was just like this, but with more wood paneling and less sunny beach

Ok, so, with that in mind (!) let me tell you how I now make my sweet potatoes for holidays.  This is sort of a ratio thing, and I don't think you can get it wrong.  Just don't over-bake the marshmallows, or they disappear, and I become sad.

Ingredients:
4-6 sweet potatoes (nothing fancy, not purple or anything, just the regular ones)
2-3 eggs
1 stick of butter, softened (or margarine, or leave it out if you don't like delicious things)
1/2c heavy cream (depends on how many potatoes you are using, what texture you like, etc), or 1/2 and 1/2, or evaporated milk, or regular milk. But really, cream.
1/2c. brown sugar, and white sugar (or splenda) to taste
pinch of salt
1-2tsp of combined cinnamon, nutmeg, ginger-- or use pre-mixed pumpkin pie spice, but then it will taste a lot like your pie, no?
1 bag of mini marshmallows (which are traditional, but big ones cut in half work fine too)
BIG casserole dish (1.5 to 2qts?) and butter or non-stick spray

Directions:
Heat oven to 350
While that is happening, wash the potatoes well, and poke them all over with a fork, and then you can microwave them until they are very soft.  I'd say at least 20 minutes.
You can boil them and peel them if you like, or you can peel them and boil them (which is harder), but you'll lose nutrients to the water.

Once they are soft and cool enough to handle but still warm, peel the sweet potatoes and dump them in a big bowl. Don't leave too much behind on the skins, scrape if need be.
Mash them up with a potato masher.

Now you can keep going with the masher, or switch to a handheld mixer, or a whisk.
Mix in the soft butter, and the eggs, and mix well.
Should be thick. Now mix in your dairy of choice, a little at a time, until you get to the texture you like.  You are going for a loose mash, but NOT a pie filling.  Get it to where you like it.
Add the pinch of salt, and the brown sugar, and give it a taste for sweetness. Add more brown or white sugar (or splenda, of course) to your taste.
Add the spices-- start with 1tsp of cinnamon and shake in the others if you like them, and taste.

Ok, now the mash is where you like it, yes? Don't eat it all yet. It's better baked.

Grease (with butter, or non-stick spray) your casserole dish, and pour in the mash. Smooth it out. There should be room between the top of the mash and the top of the casserole, to help hold the marshmallows on.
Cover with aluminum, and bake the casserole for about 30-40 minutes at 350 (could be 375 if your oven is set higher for something else).  At this point, you can remove them and wait until closer to dinner, or keep going.

Now, remove the aluminum (did I really need to say that? You're probably stressed out with family coming and everything, so, yes, I did. You're welcome).
Top with mini marshmallows. Don't be shy. We're not talking 1 layer here. Dump them on there and spread them out.  They should sit somewhat above the top of the rim of the casserole dish.
Bake about 10 more minutes, until the marshmallows are puffy and golden, but not over cooked because then they disappear and become a sticky glaze. Not what you want.

I used big marshmallows, and I'm ok with that.

Put out on the table to ooohs and aaaaahs, and enjoy.  I like it warm, and then I really like it cold all the rest of the week!

Wednesday, November 27, 2013

Dreaming of Ice Cream: The Only Chocolate Ice Cream recipe you willever need

This post has been sitting for a while, and now's the perfect time to get it out there for you.  You can trick this out for the holidays with some crushed mint candies, or about 1/4 to 1/2tsp of pure mint extract for an A-MAZING mint chocolate ice cream.

I'm working my way through the Jeni's Splendid Ice Creams at Home book, trying to lower the calories and remove as much sugar and carbohydrates as possible.

So far, the Roasted Rhubarb frozen yogurt was great, and now, I'm working on the Darkest Chocolate Ever ice cream.

As I go along, I'm also experimenting with different types of sugar-free sweeteners and different types of thickeners.

The results so far have been good.  Jeni's recipes don't use eggs for thickening, emulsifying, or texture. Instead, she's discovered a mix of cream cheese, corn syrup, and cornstarch gives good body and scoop-ability to the mix.

I'd like to move away from cornstarch and corn syrup.  In this recipe, I'm working with a mix of guar gum and xanthan gum (I mix them together myself in a roughly 1:1 ratio) for thickening the dairy base.  You could also try the same type of product (a mix of low-carb, fiber-based) that is commercially available, like "thick it up" by Dixie Diner (check out www.netrition.com as a reliable online retailer).

I'm also working with xylitol as a sweetener.  It has about 1/2 the calories of sugar, and has some great properties, like actually decreasing the incidence of tooth decay.  In ice cream, I find it helps keep the mix from freezing too hard (though your freezer settings have a LOT to do with that of course) in much the same way that sugar does. 
To lower the calorie count further, I use a syrup made from isomalt (in a 3:1 proportion with water, cook until melted and combined.  Voila! Great substitute for corn syrup. Leftovers will recrystallize in the fridge, however. You can always melt it again).  Isomalt  has about 1/4th the calories of sugar, and has different interesting properties.

Finally, if I need extra sweetness, I can turn to Splenda (powder or liquid concentrate, available in a lot of places), but I've not yet had to use much, if any, of it.

Ok, so that with that preamble out of the way, let's get to the best chocolate ice cream I've ever made, ever!

Ingredients:
For the chocolate syrup:
1/2c Very excellent unsweetened cocoa powder (I used the "black label" house brand from my local grocery store, but I've used Ghirardelli in the past for other things and that is excellent too. Use the best you can get your hands on).
Here is my regular cocoa (on the left) and my premium cocoa (on the right):


1.5 oz very excellent very dark chocolate (I used an 85% cocoa solids bar that I like to eat, but you can use lighter chocolate, in the 55% to 70% range will work, but won't be as daaaaark)
1/2 c brewed coffee, or 1.5 T instant coffee mixed into 1/2c hot water (I used this. Decaf even!)
1/2c Xylitol (I use this in about 1:1 with sugar... maybe a bit less, but about that ratio)
pinch of salt (1/8th tsp)--  most chocolate-containing recipes call for salt, because it brings out the flavor in the chocolate more.  I'm not making salted chocolate, so just a pinch, ok?

For the Ice Cream Base:
2T. Isomalt syrup (see notes above)
2c. Whole milk
1c. Heavy cream
1.5 oz (3T.) Fat free cream cheese
1/2c Xylitol (remember, there's sweetness coming from the chocolate syrup)
Isomalt syrup
1/4 tsp thickening gum mix (see note above), and a very fine sieve or a powdered sugar shaker (or use the 1T plus 1tsp cornstarch called for in the original recipe)

Directions:

First, melt the xylitol and coffee together over medium heat. When all the crystals are gone, mix in the isomalt, and the cocoa. Mix well, until everything is incorporated and glossy. Remove from heat, drop in the chocolate (broken up), and set aside to let melt. Give it a stir once or twice, off heat.

This is the cocoa sitting on top of the other ingredients for the syrup, waiting to be incorporated. Be patient.


Once everything is incorporated, it becomes smooth and glossy


Adding the chocolate to the syrup, off heat. Let it melt in, and stir now and then.


Next, in a separate bowl (medium to large, since this is where everything will come together), mix the cream cheese and the chocolate syrup, added a little at a time, until very smooth.

Prepare a very large bowl with ice and some water.

Then, mix the milk, cream, xylitol, and isomalt syrup together in a 4 qt pot (because it will get foamy), bring to a rolling boil over medium high heat, and boil, stirring, for 4 minutes. 

Starting to boil. See all the room in the pot?


Super boiling now. Note how much less room there is!

Take off the heat, and using a sieve or shaker, sprinkle in the thickening gum powder, while whisking. 
Return to the heat for another minute. 
It will not thicken as much as cornstarch would, but will thicken even more upon cooling.
(If you are using the cornstarch-- mix the cornstarch with a bit of the cold milk to make a slurry, then add the slurry to the milk/cream mixture off heat, then bring back to the heat).
Remove from heat. 

In a medium bowl, whisk a small amount of the hot liquid into the cream cheese/chocolate mixture until smooth. Keep adding and whisking, a little at a time, until all incorporated.

Mix the cream mixture into the chocolate/cream cheese mixture, a bit at a time


Now--either pour the whole thing into a ziptop bag, and put that bag in a big bowl filled with mostly ice and some water OR, put the medium bowl you have everything in already into the bowl, not letting any water get in. Sort of like a cold "bain marie" :)

Here's my medium bowl sitting inside the big bowl of ice and water
 
You need the mixture completely cold if you are going to make the ice cream right away.  Keep changing out the ice/water as it melts, and give the mixture a stir too, to get the hot and cold sections mixed up.

TIP: If you don't need to make the ice cream right away-- skip this step. Just put some plastic wrap over the mixture so that it's touching it (won't form a skin that way) and refrigerate overnight, and make the ice cream tomorrow.

When you are ready, pour into your ice cream maker and follow the maker's directions until the ice cream is ready (about 25-30 minutes for most brands).

Scoop out and either eat soft-serve right away, or, pack it into an airtight container, and freeze at least 4 hours until firm.

I would totally have a picture of the finished product for you... but I forgot, and then we (and friends) ate it all.  I'll make it again soon though!

Wednesday, September 25, 2013

Quick Pickle - Easy Spicy Cucumber recipe

I haven't made this in a while, but when my neighbor's cucumber vine meandered over to my side of the fence, I knew exactly what I'd be doing with any bounty that grew on my side (and yes, she knows it's over here, and no, she doesn't mind).
This is the cucumber vine. The one I cut was hanging from that little piece of vine 1/2 way up

I have a real *thing* for fruits and veggies coming right off a tree or plant (could be anywhere, belonging to anyone) that I'm not really ready to share with you just yet, but suffice it to say that growing a few fruits and veggies in my own backyard just totally tickles me!  And, um, keeps me out of trouble...
 
Here's the first (and only) cucumber on my side, so far:


I think it must've weighed 2lbs?
 
The "recipe" isn't really a recipe, more of a technique.  I learned it from the amazing folks at The Q restaurant and bar (formerly called BarBersQ) in Napa, CA. If you are in Napa, you MUST go here.

The first time I was there, in 2009, they had pickled cucumbers as a side dish to their delicious barbequed meats, and I was so overwhelmed by the perfect blend of sour and spicy and crunchy, I had to get the recipe.

 
So, here is my version, because while I'd love to keep this as a secret weapon in my cooking arsenal, it's too good not to share.
 
Ingredients:
cucumber (regular or English/hothouse. If you use an English cuke, peel every other strip off of it, for better flavor penetration).
red onion
jalapeno (fresh) OR some red pepper flakes.
a variety of vinegars: red wine, rice wine (unsweet), regular white, sherry, apple cider.  NOT balsamic.  Try to use at least 2 or 3 different ones, depending what you have in the house.  Sherry vinegar is particularly good, I'd make an effort to acquire that (also delicious in salad dressings, and in this fajita marinade I'll share with you).
seasoned salt (I use Herbemare) if you have it-- if not, regular salt is fine.
 
Directions:
peel the cucumber (or peel every other strip, if it's an English cuke), cut it in half lengthwise (or quarters, if it's a monster like mine) and seed it, using a teaspoon to scoop out the seeds but not the firm flesh.
 
Cut into pretty fine sticks, and then across into small cubes or pieces. 
I used a mandolin slicer (like the one below) and a julienne blade, to get small matchsticks.


see the carrots? that's using the julienne blade (there's usually 2, a big one and a smaller one)


Cut enough red onion to give you about a third to half as much onion as cucumber. Cut into the same size as your cucumber, or slightly finer, if you didn't cut the cucumber small enough.
 
Combine the onion and cucumber in a bowl.
 
If you have a fresh jalapeno, cut it open, discard the seeds, and chop finely. Only use the seeds if you want it to be crazy spicy (which you don't).  Add to the cucumber/onion mix.
 
If you DON'T have a jalapeno sitting around (and unless I plan in advance, I don't), add a pinch of red pepper flakes. How much you use is up to you, but beware! The vinegar really brings out the heat (in my opinion) and letting it marinate develops that heat, so maybe use a bit less than you would think.  Like, start with 1/8th teaspoon and work your way up.
 
give the mix a sprinkle of salt (whichever type you are using).  A good 1/2 to 1 tsp.
 
Now add the vinegars-- you want to put in about equal amounts of the ones you are using, until the liquid reaches just about an inch or so below the level of the veggies in your bowl/container.

As I mentioned above, really try to get some sherry vinegar, it seems to make this dish (and the originator made sure to mention it to me).
Here are the vinegars I used. You could make it with 2 or 3, but make sure to use sherry vinegar.  And yes, I do have more vinegars that weren't appropriate for this recipe. 
 
Give the whole shebang a good stir, and cover (I make this right in one of those BIG Ziploc plastic containers instead of a bowl) and place directly in the refrigerator for a few hours, at least. Overnight is best.

The mix. I used pepper flakes instead of jalapenos.
I can't tell you how long it keeps in the fridge, because it's usually GONE in a day or 2.  I'd say they'd be fine for a week or 2 for sure.  I'd say longer, but you're not doing the whole hot-liquid, canning-jar thing.  And anyway, you'll eat it all up so storage isn't an issue :)
 
I can't do my regular nutrition analysis on these, since amounts vary.  But cucumbers are really low in calories, and onions aren't too bad, and you're not using any sugar.
 
OH-- if the marinade winds up too spicy, then do add a pinch of sweetener (splenda, xylitol, sugar, whatever you like)... that will counter the spiciness.
 

Tuesday, May 28, 2013

By Request: Sugar-free Salted Caramel Ice Cream

My first request!

My friend F. asked if I could figure out a lower carb, lower calorie (because that's how I roll) salted caramel ice cream.  Since I love taking on a challenge, I of course immediately set about researching how to create this for her.


Problem # 1: not all sugar substitutes will caramelize. I can now list all the ones that won't, and there are some sugar substitutes that I didn't want to use in this recipe: maltitol, because it is one of the worst offenders in terms of "gastric distress" that can be caused by sugar substitutes, and erythritol, because I find even a small amount makes ice cream crumbly.

I *did* find that you can caramelize xylitol, which is great, because I use it to help with the texture of my sugar-free ice creams anyway.  The trick, it seems, is to add a tiny bit of an interfering agent, via an invert sugar, like corn syrup (you could use honey, though this isn't truly an invert sugar, but does contain it. It might make it taste a bit like honey though).
This is to prevent the creation of crystals in the caramel (an issue with caramel based on sugar, and I didn't want to chance it with the xylitol experiment). One teaspoon of corn syrup (which is not quite the same as "high-fructose corn syrup," which is much more processed) in the entire recipe will be quite distributed and the nutritional and blood sugar effects should not be pronounced, but will ensure that the caramel comes out properly.


Xylitol caramelization test (with a bit of cream)

So I ran a test with a small amount of xylitol and a drop of syrup (and some cream), and came out with perfect caramel. JOY!
We can proceed

Problem #2: finding a good salted caramel ice cream base recipe. 
I scoured the internet, and found a highly rated recipe that would be a good base for my changes.
The reviewers suggested the recipe could benefit from a couple of tweaks: a bit more salt, and some found it very rich.
I'm incorporating changes into my version to address these comments: decreasing the cream a bit, increasing the sea salt amount, and using liquid sucralose (aka Splenda) to replace some of the extra sugar, if its needed (note: I don't think it is).  The bulk of the sweetness will come from xylitol, which will be caramelized.  The rest would just be to taste.

Warning: making caramel is like making napalm in your kitchen. 
This stuff will cause permanent skin damage if it gets on you. TAKE PRECAUTIONS.

Wear long sleeves and long pants and good, closed-toe shoes. 
Baby-gate the animals and children OUT of the kitchen area. 
Have baking soda and a big pot lid, and an empty sink available.

Also-- it smokes. A LOT.  So open some windows and turn on the vent in advance.

So, with all that out of the way, here we go!

Ingredients:
1 1/4 c. heavy whipping cream.
3/4 cup xylitol
1 teaspoon corn syrup or very mild flavored honey, or agave syrup
1/2 teaspoon vanilla extract
1 teaspoon sea salt (could add another 1/4 tsp if you like it very salty)

1/4 c. additional heavy whipping cream
1 1/2 cups whole milk
3 large eggs
2 tablespoons glycerine
2 tablespoons vodka
(I thought it was sweet enough with just the xylitol called for, but if you think you need more sweetness, have 1/4 cup splenda (bulk, or the equivalent in liquid sweetener) standing by)

Directions:

First-- prepare for the hot caramel situation.  Block off the kitchen, get your safety gear, open the windows, turn on the vent.  Prepare mentally.  Don't answer the phone.  And you CAN take the pot off the heat now and then to check on it.  Go slow.
Have your 1.25 c. of heavy cream ready and standing by.

Next, in a very clean, very large pot, place the xylitol and the teaspoon of syrup (or honey or agave, whatever you are using).  Heat over medium until everything melts-- you can stir it with a very clean fork or spatula to get everything melted.

Once melted, you'll just swirl.  You'll start to see the color change slowly.  There will be some smoke.  It will smell like it's burning, because it is, that's the point.

Sometimes it might bubble a little bit, sometimes not. 

IT IS FREAKY HOT so be VERY CAREFUL.

Here is everything for the caramel, prepared:


Xylitol and syrup are melted.  Now the swirling starts


Very faint color change, to a very very pale yellow

Now a pale gold, and the smoking has started


More like a light honey color


Getting deeper, like an amber, and a lot more smoke


Darker amber - this is where I decided to stop and pulled it off the heat.  This took about 10 minutes or so, but depends on your stove, so just stand there and keep an eye on it and swirl.

Next, off the heat but still very very very hot, I add the cream 1 1/4c. cream

This is why you have to use a much bigger pot than you would think-- LOOK at the bubbles!

Once it calms down, you can stir in the vanilla and sea salt, and let it cool to room temperature, and go on with the recipe.


Once you've calmed down, you should make the custard.  Yes, I'm going to do the whole custard thing for this recipe, maybe it'll become a regular occurrence (or not).

So-- bring the milk and the remaining cream just to a boil in a small heavy saucepan, stirring occasionally.

In a medium bowl on the side, lightly beat the eggs, then add half of hot milk mixture in a slow stream, whisking constantly. Pour back into saucepan and cook over medium heat, stirring constantly with a wooden spoon (a heat-proof spatula will be fine too), until custard coats back of spoon and registers 170°F on an instant-read thermometer (do not let boil or stop stirring- yuckiest scrambled eggs ever).

Remove from heat and pour custard through a fine-mesh sieve into a large bowl, then stir in cooled caramel mixture. Add in the glycerine and vodka (these help with texture and scoopability in sugar-free ice creams). Taste the mixture (the eggs are cooked at this point) and sweeten if needed,using extra Splenda or liquid sweetener, to taste.  Keep in mind cold foods taste less sweet than warm ones, so err on the side of a bit sweeter. I didn't think it needed any extra, and after it froze, I thought it was  perfect. 


Chill custard, stirring occasionally, until very cold (especially if you are using a canister-style ice cream maker).
Freeze the mixture in your ice cream maker according to maker's directions (it will still be quite soft), then transfer to an airtight container and put in freezer to firm up, 2 hours at least, more if you can keep your hands off it.


Here it is, quite soft after not-quite 2hrs in the freezer- I actually added another 1/2 scoop to the serving.

Verdict:
Since I don't eat this flavor often, or really, at all, this was new for me.  I thought it was  A-MAZING!!!  I might try to get the caramel a bit deeper in color (but given the smoke, maybe not) and maybe a pinch more salt.  But overall, YUM!


Nutritional Info:
Assuming 8 nice size servings:
304 calories

20g of fat (12 saturated, 6 monounsaturated, 1 polyunsaturated)
147mg cholesterol
302mg sodium
128mg potassium
23g carbohydrate
18g fiber (counting the xylitol here as well)  So 5g net carbs for people who count those.
5g protein
9% of your day's calcium
16% of your vitamin A
12% of your B2 (riboflavin)

Full props for the sites I used for my research:
http://www.foodiefiasco.com/almost-calorie-free-caramel/
http://www.davidlebovitz.com/2009/01/why-and-when-to-use-or-not-use-c/
http://www.epicurious.com/recipes/food/views/Salted-Caramel-Ice-Cream-354517

Dreaming of Ice cream

In my quest to make the perfect sugar free ice cream (because really, I just want to enjoy it, and if I can save some calories and even one gray hair from worrying about that, then I will). 

I've found several references about how to make one of my favorite flavors, Cherry Garcia (mad props to Ben & Jerry for creating this masterpiece years ago) (is there really any *bad* flavor of ice cream? Isn't it like pizza and sex? I digress...) and I'm going to attempt it today.

Here are my tweaks to make this slightly lighter in calories, by cutting some sugar out, and reversing the proportion of milk and cream.  Also, I never make an actual cooked custard first, because I'm really impatient. Sigh.

Ingredients:
1/4c, rounded, dark chocolate chips or shavings. 
(You can make your own sugar-free dark chocolate by melting some unsweet chocolate with a bit of heavy cream, adding some sweetener, and pouring onto a piece of aluminum foil on a tray. Let that freeze up, and break into chips.  It will work in ice cream, but will melt a bit at room temp.)

1/4c, rounded, cherries.  The references I've seen say to use fresh Bing, but I'm going to try some canned (in syrup) ones.  Easier to get year-round.  Ensure they are pitted and chopped a bit.
 
pinch of salt
 
1tsp vanilla

Soren's lower cal, lower carb ice cream base (2c whole milk, 1c heavy whipping cream, 2 large eggs (or powdered lecithin), 2T glycerin, 2T vodka, 1/4 xylitol, extra sweetener to taste)

Directions:
Chill the chocolate and cherries. You'll add these almost at the end.
You *can* make a custard from the dairy and eggs and sweetener, and then chill that.  I don't bother, but maybe I'll try this again some time.
Anyway, combine the ice cream base, vanilla, and salt in a blender and get it good and blended.
Pour into your ice cream maker and freeze according to maker's directions, 20-30 minutes or so.

Just before it's done, mix in the chocolate and cherries and let it mix for another few minutes. Or, if you always miss the end, like I do, scoop out the ice cream into it's final container, mix in the chocolate and cherries by hand, and jam it in the freezer super quick!

Let it freeze for a while (like 2hrs or overnight) before serving, to let the flavors blend and everything set up a bit.


Finished product, though it needs to set. But I'm impatient. I did add extra cherries and chocolate, partly because hubby shredded a lot of chocolate, and because I thought it needed more cherries!

Tasting note: I think I'll try this with fresh cherries, but first, I'll taste it after it sets up for a day... I'm not getting a lot of cherry flavor right now, 1hr out of the churn. 

Hey! No math this time!

ETA: Nutritional Info

My lower-cal lower-sugar ice cream base makes 8 servings, and has this info:

205 cals per serving (not counting mix-ins) (1640 calories for the whole base recipe)
14g fat (9g saturated, 4g monounsaturate, 1g polyunsaturated)

102mg cholesterol
59mg sodium
132mg potassium
10g total carbohydrates
6g fiber (so that's 4g net grams, if you count those-- we are subtracting fiber and the polyol as well here)
4g protein
10% of your daily calcium
12% of your vitamin A
11% of your B2 (riboflavin).

Add to this, your values from the chocolate and cherries, depending how much you used

the brand of 85% chocolate I used:
1.4oz = 230 calories, 15 g carb (6g fiber)

1c of cherries (recipe calls for less): 135 calories, 34.5g carbs, 3.8g fiber


Friday, May 24, 2013

My favorite salad

I'll be honest: I don't like salads.

I sort of like them when someone else makes them, but when given a choice, I generally choose *not* to have a salad.

There's some emotional baggage here, of course.  Weight loss plans generally involve copious salads.
My mother blames herself; she says that she focused her "new food" energy when I was a baby, on cooked veggies. Her logic was that most kids didn't like cooked veggies, but *everyone* eats salad.
Let that be a lesson to you moms out there!

Regardless, I'm an adult now, and I know that leafy greens are good for me, and that there are many tasty choice now (as opposed to iceberg or romaine, our only choices in the 70's), and my darling husband DOES like salad (weirdo), so I try to compromise and keep some fixin's in the house.

I've found that there is an arugula/spinach blend that I like, and it doesn't rot immediately after getting it home (my main issue with other lettuce blends).

I also learned about a FANTASTIC flavor combination from my friend Nic (@NicCanCook) from years ago at his restaurant (this isn't on the menu anymore though).  So without further ado, here's my one favorite salad that I make for myself.

Roasted pepper and goat cheese (and other stuff) salad

Goat Cheese and Roasted Red Pepper (and pork chop) salad


Ingredients:
1 roasted red pepper (from a jar, or fresh if happen to have them lying around)
2-3oz of soft unripe goat cheese, the kind that doesn't have a rind, that just looks like creamcheese
a few T of leftover onion (red, white, green, whatever you have)
3-4c salad greens (big single salad) (I like arugula/spinach, but this works on romaine, or whatever you have)
italian dressing (seriously)

Method:

Place the clean salad greens in a big bowl

Cut the roasted red pepper into small pieces, or slices, whatever you like, add to the bowl
Do the same with the onion

Crumble the goat cheeese over everything
Add in some protein if you like-- this works great with chicken or pork leftovers. Beef would be fine too.  Pretty much anything other than fish, I think.
Top with a couple T of italian dressing, or balsamic/oil and some herbs.
Toss to combine.

YUM! and? no math...

ETA: nutritional information
This of course depends on the actual products you use, and the amounts.  I'll give you a rough estimate, you'll need to multiply it out:
1oz soft goat cheese = 76 cal, 6g fat, 0.3g carb, 0 fiber, 5.3g protein
1 roasted red pepper = 10 cal, 0 fat, 3g carb, 1g fiber, 0g protein
1 T chopped onion, raw = 4 calories, 1g carb, negligible everything else
1c arugula = 5 calories, 0.7g carb, 0.3g fiber, negligible everything else
salad dressing - your choice of brand